
October 21, 2026 · Quartz Epoxy Pro
Does epoxy stop a garage floor from cracking?
No. An epoxy coating does not stop a garage slab from moving, so it will not prevent new cracks caused by soil movement or settling. What it does do is protect the surface, seal out road salt brine and oil, and make hairline cracks much harder to see once they are properly filled. The real work is repairing the cracks you already have before you coat.
Why a coating cannot stop a slab from cracking
Concrete cracks because the slab moves. It shrinks as it cures, the soil under it swells and shrinks, parts of it settle, and it expands and contracts with temperature. None of that happens in the top eighth of an inch. It happens in the slab and the ground below it.
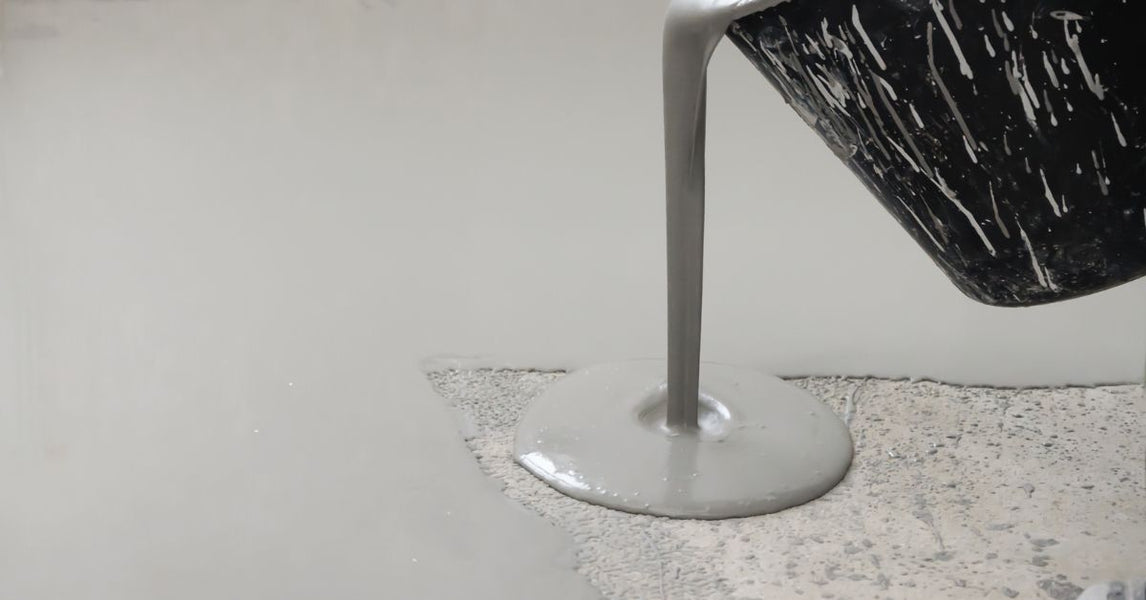
Our indoor kit goes on at about one eighth inch thick and bonds to the top of the concrete. That bond is exactly what you want, but it also means the coating rides along with the slab. If the slab moves enough to open a crack, the coating above that crack will usually crack along the same line.
What epoxy actually does for a cracked floor
A coating is not a structural fix, but it still does real work on an older, cracked garage floor:
- Protects the surface. Bare concrete dusts, wears and stains. A bonded epoxy layer takes the tire traffic, dropped tools and daily grit instead.
- Seals out brine and oil. Road salt brine dripping off a truck and oil from a leaky engine soak straight into raw concrete. On a coated floor they sit on top where you can wipe them up.
- Hides filled hairline cracks. Once a hairline crack is filled and ground flush, the coating covers it. The quartz sand aggregate gives a textured stone look that helps a repaired line blend in.
If you are still deciding whether a coating is worth it at all, our post on epoxy versus regular paint covers that side of it.
How to repair cracks before you coat
Crack repair is part of surface prep, and about 95% of epoxy failures trace back to inadequate surface prep. Do it in this order:
- Clean the floor. Sweep and vacuum, then scrub with a concrete cleaner or degreaser, especially oil spots. Rinse and let it dry fully.
- Clean out each crack. Vacuum loose concrete and dust out of the crack so the filler bonds to solid material, not debris.
- Fill cracks, pits and holes. Use concrete patch compound or epoxy crack filler. Never use silicone fillers.
- Let the filler cure fully. Follow the cure time on the filler you bought. Coating over soft filler causes problems later.
- Grind the whole floor. Use an angle grinder with a diamond cup wheel or a rented floor grinder to a texture like 60 grit sandpaper. This also brings the patched areas flush with the rest of the slab. Our post on grinding versus acid etching explains why grinding is the method we recommend.
- Vacuum every bit of dust. Leftover dust acts as a barrier layer between the concrete and the coating.
- Do the water droplet test. Sprinkle water on the floor. If it soaks in within about 30 seconds, the surface can take coating. If it beads up, there is a sealer or contaminant left to remove.
- Prime if the floor calls for it. Primer is strongly recommended for porous or older concrete, previously painted or sealed floors and areas with past moisture issues. Primer is sold separately.
The full prep steps, mixing and pour instructions are in our installation guide.
When a crack is more than a surface problem
A thin, stable hairline crack is normal and easy to fill. If one side of a crack sits higher than the other, if a crack keeps getting wider, or if the slab is sinking in one area, that is active movement. Have a concrete or foundation professional look at it before you coat.
Expansive clay soils in places like Texas and Colorado
Large parts of Texas and Colorado sit on expansive clay soils. Clay swells when it gets wet and shrinks when it dries out, and the slab on top moves with it. Garage floors on these soils often crack and recrack with the seasons. A coating will not change that.
What you can do is go in with the right expectations. Fill and grind every crack before you coat, keep water draining away from the slab, and plan on occasional touch ups. Small touch ups can be made with additional kit material, so it is smart to keep a little on hand. You can find planning notes for your area in our city guides.
Post tension slabs in Arizona
A lot of newer homes in Arizona are built on post tension slabs. These slabs have steel cables running through the concrete that are pulled under very high tension. If you are not sure what you have, check for a warning stamped in the concrete or ask your builder.
Epoxy works fine on a post tension slab. The rule is simple:
- Grind the surface only. Our prep only asks for a surface texture like 60 grit sandpaper. That is all a coating needs.
- Never drill, core or saw into a post tension slab. Cutting into a tensioned cable is dangerous and very expensive to repair. Do not chase cracks open with a saw.
- Fill cracks from the surface. Clean them out, fill with patch compound or epoxy crack filler, and grind flush.
What to do if a crack reappears
- Look at it closely. A thin hairline that showed back up along an old crack is usually the slab doing what it was already doing. A crack that is widening or has one side higher than the other needs a concrete professional first.
- Clean the area. Degrease and rinse, then let it dry fully.
- Abrade around the crack. Scuff the coating along the crack so new material has something to bond to.
- Fill the crack with epoxy crack filler and let it cure.
- Touch up with additional kit material. If the whole floor is looking tired, it can be refreshed with a new coat once it is properly cleaned and abraded. Our post on putting a second coat on a garage floor walks through that.
Not sure? Email a photo to support@quartzepoxy.com or call 602.600.0781, Monday to Friday, 8am to 5pm Arizona time. Free phone support comes with every kit.
Planning the job
Cracks do not change coverage. 1 kit covers 100 sq ft. A 1 car garage of about 200 sq ft takes 2 kits, a 2 car garage of about 400 sq ft takes 4 kits, and a 2.5 car garage of about 500 sq ft takes 5 kits. Measure length x width, divide by 100 and round up. Our kit calculator post has more detail, and the 22 inch squeegee with pole is the tool for spreading it. Plan on a weekend: prep and prime day one, pour day two.
Quick answers
Will epoxy fill the cracks in my garage floor?
Not on its own. Fill cracks, pits and holes with concrete patch compound or epoxy crack filler and let it cure fully before you coat. Never use silicone fillers, because epoxy will not bond to them.
Can I put epoxy on a post tension slab?
Yes. Prep it by grinding the surface only. Never drill, core or saw into a post tension slab, because the steel cables inside are under high tension.
Will a crack come back through my new epoxy floor?
It can. If the slab moves again, the crack usually reappears along the same line. A stable hairline crack can be cleaned, abraded, filled and touched up with additional kit material.
Do cracks change how many kits I need?
No. 1 kit covers 100 sq ft, so a 2 car garage of about 400 sq ft takes 4 kits. Fill the cracks first so your coating goes on the floor, not into the cracks.
Fix the cracks, then coat it right
Our indoor quartz epoxy kit covers 100 sq ft per kit and comes with free phone support. Call us before you start and we will help you plan the crack repair and prep.