
October 27, 2026 · Quartz Epoxy Pro
What is the most durable garage floor coating?
The most durable garage floor coating you can put down yourself is a thick, two part epoxy system bonded to properly ground concrete, and a quartz sand epoxy floor is built exactly that way. Durability comes from three things working together: the chemistry, the thickness, and the prep underneath. Get all three right and the floor holds up to cars, tools and daily use. Skip one and even the best product will let you down.
What durable actually means in a garage
A garage floor takes a beating that most floors never see. Hot tires roll in, oil and fluids drip, tools get dropped, and grit gets ground in under every footstep. A coating that survives that needs to do four jobs:
- Bond hard to the concrete so it does not peel or lift under tires.
- Have real thickness so scuffs and wear stay in the coating instead of reaching bare concrete.
- Resist stains from oil and spills so it cleans up instead of soaking things in.
- Keep its grip so it stays safe to walk on.
Floor paint fails on most of these. It goes on thin, it sits on the surface, and hot tires tend to lift it. We break that comparison down in epoxy vs paint for a garage floor.
Why a full thickness quartz epoxy system holds up
Our indoor quartz sand epoxy self leveling garage floor kit is a two part bisphenol A epoxy with quartz sand aggregate mixed into the system. That combination matters for a few reasons.
Thickness you can count on
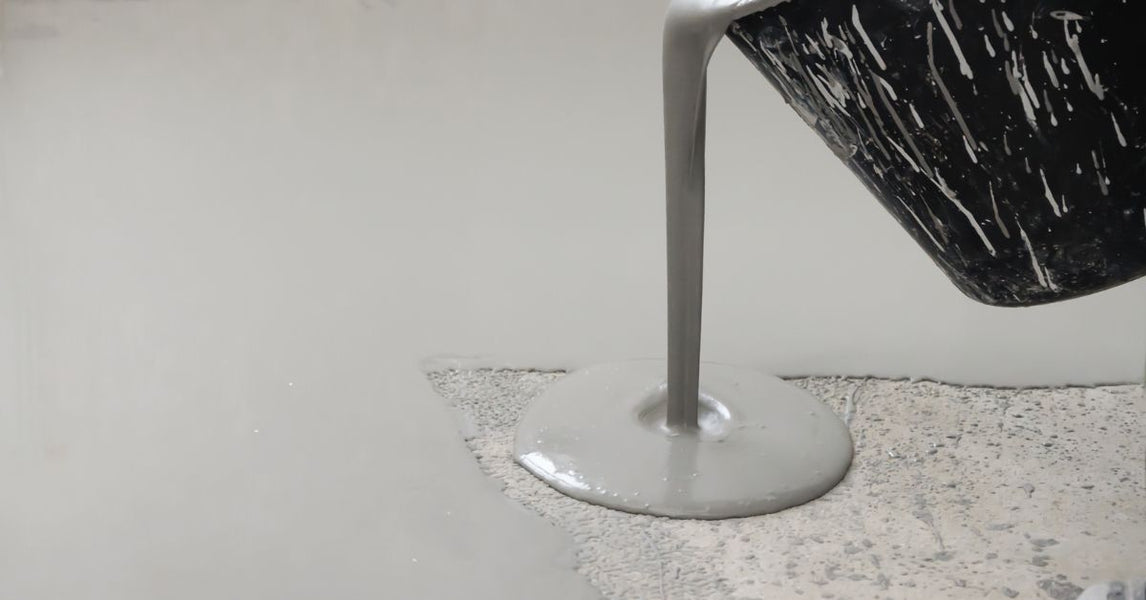
Each kit covers 100 sq ft at a target thickness of about one eighth inch. That is a real wear layer, not a film. The self leveling formula flows out to an even surface as long as you use the full kit on its 100 sq ft. Stretch it thinner and it will not level properly, and you lose the thickness that makes it last.
Texture and grip from quartz
The quartz aggregate gives the surface a textured stone look and more grip than a smooth coating. Factory testing lists a slip coefficient of 0.4 or higher. Slip resistance still varies with how evenly the aggregate is spread, contaminants on the floor and wet conditions, so spread it evenly and keep the floor clean. More on that in are epoxy floors slippery when wet.
Quartz vs flakes
Flake floors broadcast decorative vinyl chips into a coating for a speckled look on a smoother surface. A quartz floor uses sand aggregate for a textured stone finish with more grip. Both are epoxy based. The full side by side is in quartz epoxy vs flake floor.
Prep decides durability more than the product
Our installation guide puts it plainly: about 95% of epoxy failures trace back to inadequate surface prep. The most durable coating on the market will peel if it is rolled over oil, sealer or dust. Here is the prep that gives any epoxy its best shot:
- Clean. Sweep and vacuum, then scrub with a concrete cleaner or degreaser, especially oil spots. Rinse and let the slab dry fully.
- Test. Sprinkle water on the floor. If it soaks in within about 30 seconds, the surface can take coating. If it beads up, there is a sealer or contaminant to remove first.
- Repair. Fill cracks, pits and holes with concrete patch compound or epoxy crack filler and let it cure fully. Never use silicone fillers.
- Grind. Grind the whole floor with an angle grinder and diamond cup wheel or a rented floor grinder to a texture like 60 grit sandpaper.
- Vacuum. Get every bit of dust up. Leftover dust acts as a barrier layer between the epoxy and the concrete.
Older or porous concrete, previously painted or sealed floors and floors that see heavy vehicle traffic should also get a primer coat. See do I need a primer under garage floor epoxy for when it is worth it. If you are weighing grinding against other prep methods, read grinding vs acid etching.
Install conditions that protect durability
A durable floor also depends on a clean install. Stick to these numbers from our installation guide:
- Apply only between 41°F and 90°F. The ideal cure range is 68°F to 77°F. Below 55°F cure time can double or more.
- Relative humidity must be below 65%, and moisture test the concrete before you start.
- Mix with a drill and mixing paddle for 3 to 5 minutes, scraping the sides and bottom. Never mix by hand, which causes soft spots.
- Pot life is 20 to 30 minutes, so have your 22 inch squeegee and 20 inch defoaming roller ready before you open anything.
- Defoam right away with 2 to 3 slow passes at 50% overlap. Unpopped bubbles leave pinholes and craters that become weak spots.
A typical job is a weekend: prep and prime on day one, pour on day two.
Give it time to cure
A lot of floors get damaged in the first week, not the first decade. Let the cure finish before you load it up:
- Light foot traffic: 24 hours
- Full cure: 72 hours
- Heavy traffic and driving: about 5 days
- Water exposure: 7 days
Keep heat and fans off the surface during the cure. Our post on how long epoxy takes to cure covers what slows it down.
What no coating can do
Being honest about limits is part of picking the right floor:
- Slab movement. An epoxy coating does not stop a slab from moving. It will not prevent new cracks from soil movement or settling. Fill existing cracks before you coat.
- Direct sun. Bisphenol A epoxy can amber over time in direct sunlight, and the indoor kit lacks strong UV protection. Keep it inside the garage. For outdoor jobs, use the outdoor washed stone quartz epoxy floor kit.
- Grit. Sand and dirt under tires and shoes cause scratches over time on any floor.
For the full list of honest tradeoffs, read the disadvantages of epoxy flooring.
Keep it durable with simple maintenance
Sweep or dust mop as needed, since grit is what scratches. Mop weekly with a pH neutral cleaner in warm water. Avoid vinegar, citrus, bleach and harsh solvents. Wipe spills right away and use a degreaser for oil. Inspect the floor once a year. Small touch ups can be made with additional kit material, and an epoxy floor can be refreshed with a new coat without removing the existing layer once it is properly cleaned and abraded. Our guide to cleaning an epoxy garage floor has the details.
How many kits for a durable floor
Do not cut corners on coverage. Measure length x width, divide by 100 and round up. A 1 car garage of about 200 sq ft takes 2 kits, a 2 car garage of about 400 sq ft takes 4 kits, and a 2.5 car garage of about 500 sq ft takes 5 kits. Want to see what other homeowners near you are doing? Check our epoxy floor kits by city planning guides.
Quick answers
What is the most durable DIY garage floor coating?
A full thickness two part epoxy system with quartz sand aggregate, installed over properly ground and cleaned concrete. One kit covers 100 sq ft at about one eighth inch, which is far heavier than a coat of floor paint.
Does adding quartz sand make epoxy stronger?
Quartz aggregate gives the surface texture and grip, and factory testing lists a slip coefficient of 0.4 or higher. The bigger factor in how long any coating holds up is still the prep underneath it.
How soon can I park on a new epoxy floor?
Light foot traffic after 24 hours, full cure at 72 hours, and wait about 5 days before driving or heavy traffic. Allow 7 days before water exposure.
Can I use the indoor kit on my driveway?
No. The indoor kit does not have strong UV protection and bisphenol A epoxy can amber in direct sun. Outdoor jobs use the outdoor washed stone kit.
Build a floor that holds up
Every kit covers 100 sq ft at full thickness and comes with free phone support Monday to Friday, 8am to 5pm Arizona time. Phoenix area customers can pick up locally with no freight charge.